
I jumped around a bit while making these with the pics so the wire color may change throughout but the instructions are the same.
Parts used:
Park/turn light kit
Wire
Asphalt loom
Crimp ferrule
Ring terminal
Heatshrink
Tools:
Vice (or big crimping tool)
Soldering Iron
Wire stripper
Pick
The old harness

Pry out the clips holding the connector in the harness

Slightly push in the tabs on the connector from the top

Remove old wire and clip, open up the crimp slightly to remove the old wire.

Re-crimp then solder new wire onto old terminal

Use fingernail, pick or anything slim (i used a razor blade) to gently pry out the little tabs on the connector, this is what holds it into the socket. Note, the ground wire will go to the ring terminal and ground to the bucket)

Put the clip back on that you removed in the first step and insert completed tab into the harness and repeat for each connector.

Put your wires through the asphalt loom

Add the ferrule to the loom and crimp with vice (or large crimping tool)

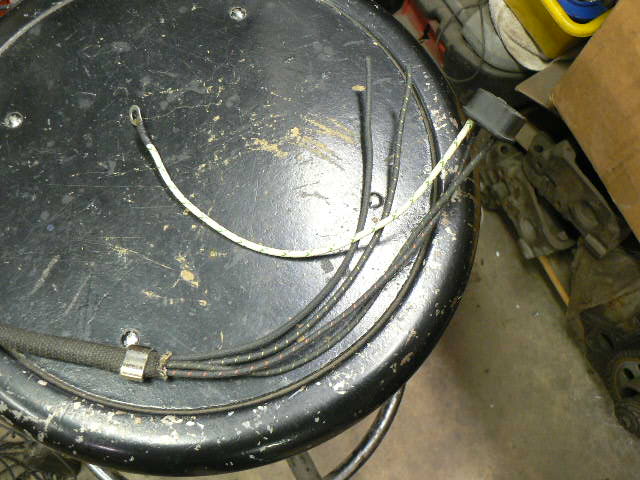
Completed harness, note the ground wire with ring terminal added.
And finally, installed in the headlight bucket

Last thing is to heatshrink the loom to the wires
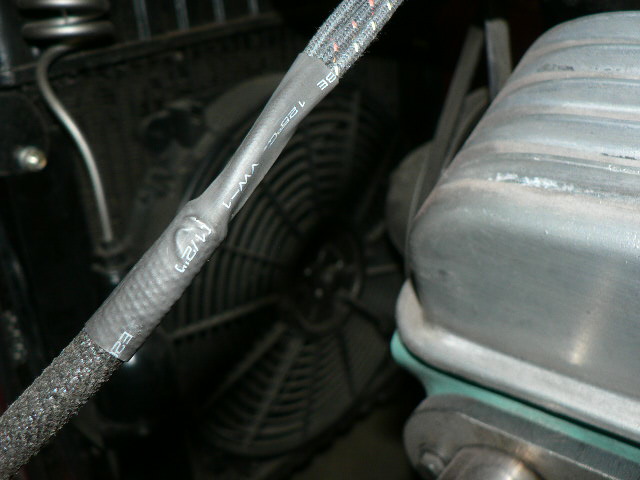
And for aesthetics, I remove the printed lettering from the heatshrink with a bit of acetone on a cloth.

Additional info:
The old harness was 3 wires, the new one is 4 to accommodate the new park/turn lamps. There are 2 wires that are not terminated at this point, they will be soldered and heatshrinked once those parts arrive.
In short, we went from this...

....to this

No comments:
Post a Comment