The engine is back out and the crossmember is physically in. It still needs to be welded on the bottom and lots of cleanup but it's in. I also added a few gussets to the engine mounts to stop any fore/aft movement.
Next step is some more frame patching, boxing then painting.
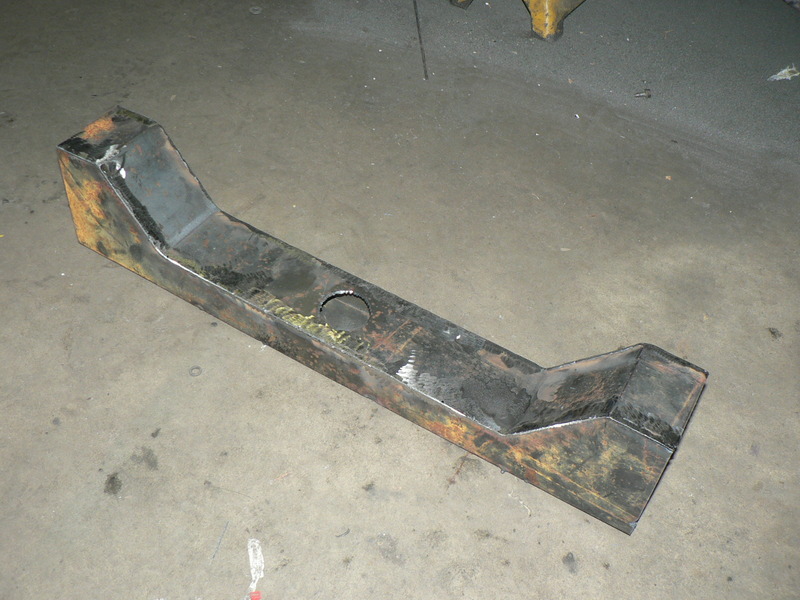
The crossmember fabrication is completed! It took a few hours but I am very happy with the way this turned out. I took alot of pics and did a quick how-to on the H.A.M.B. if you want to see more, but here are a few overview shots.
I still need to yank the engine and weld this piece in, the bottom pic is it just sitting in place.
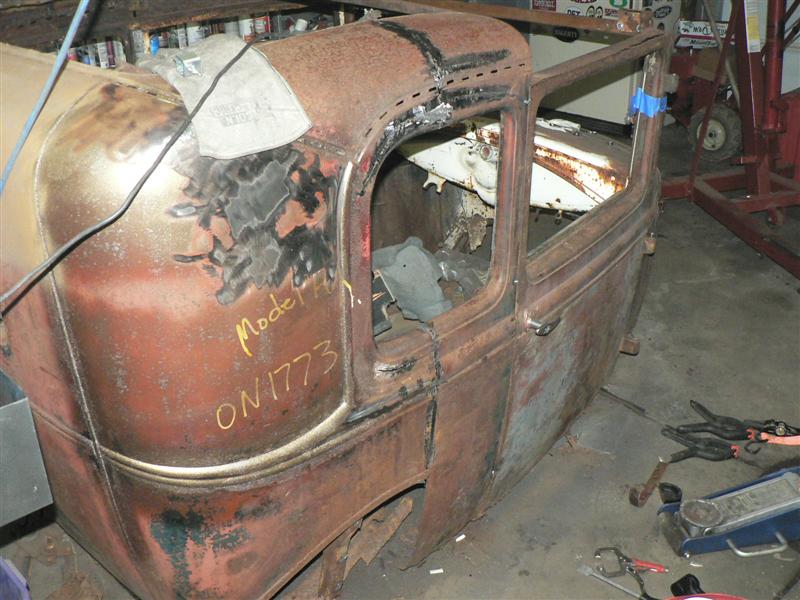
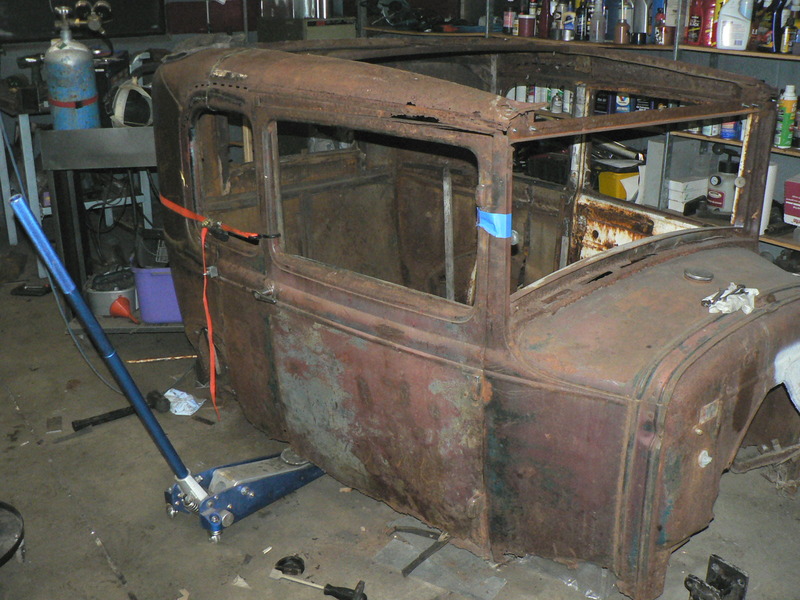
However this time, the car is attached once again and can be moved - which is a good thing because we have another hotrod project waiting in the wings that has to get in the shop soon.
I started on the crossmember finally last night, I have been putting this off for days now since I really didn't know what I wanted to do. After giving up no all the easy ideas I settled on making a box one from scratch. I still need to cut some holes in it and weld in some tubing for a bit more style, probably on Thursday.
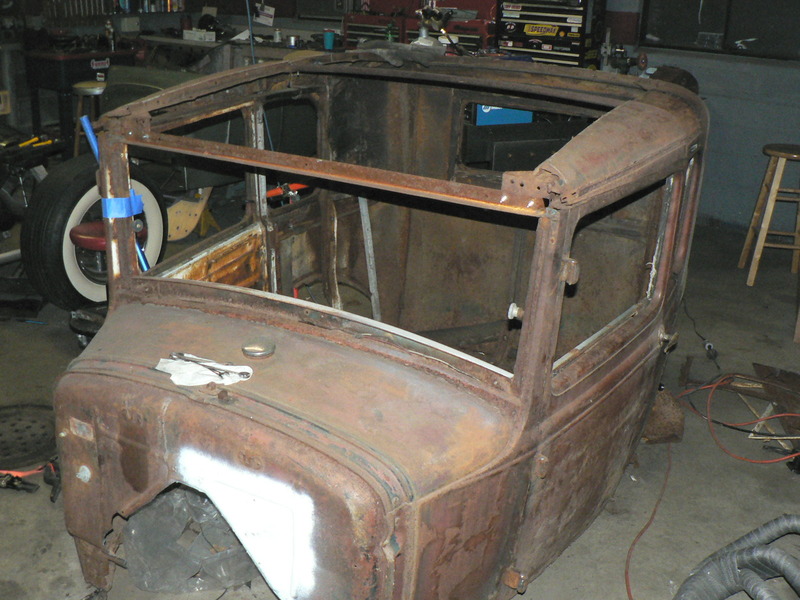
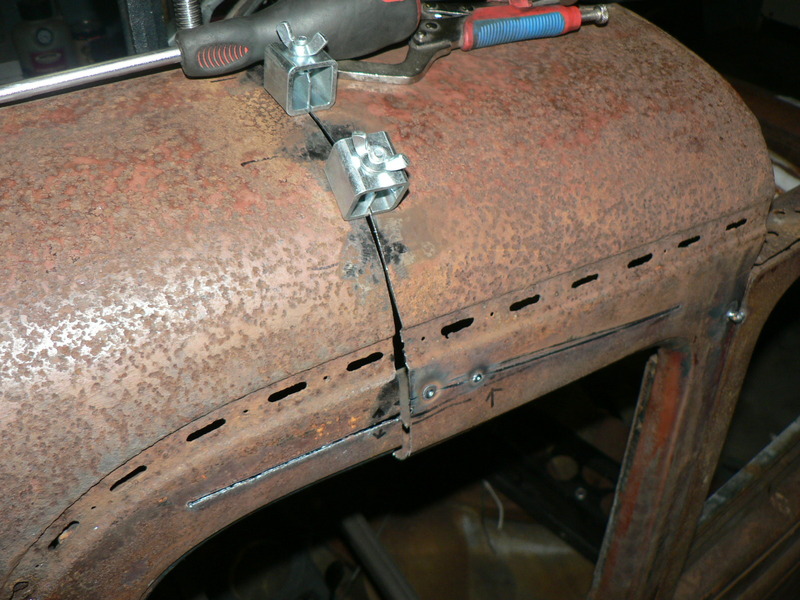
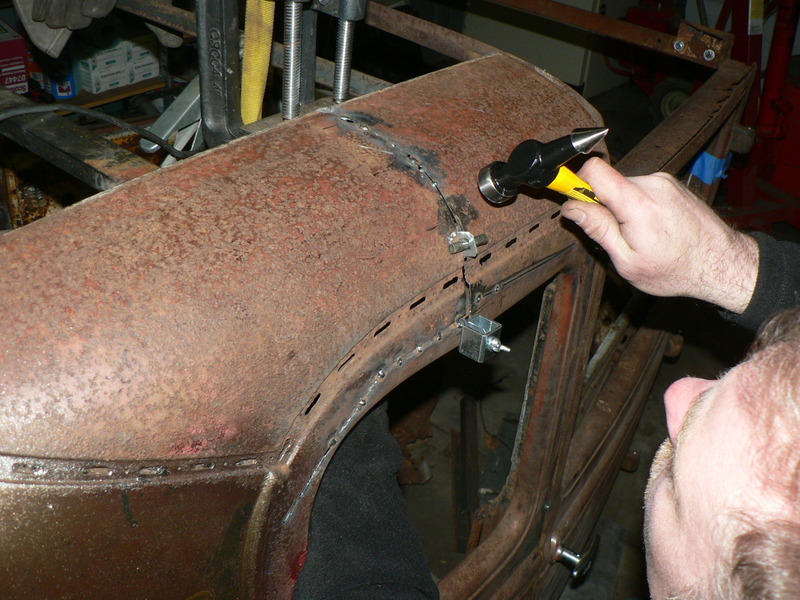
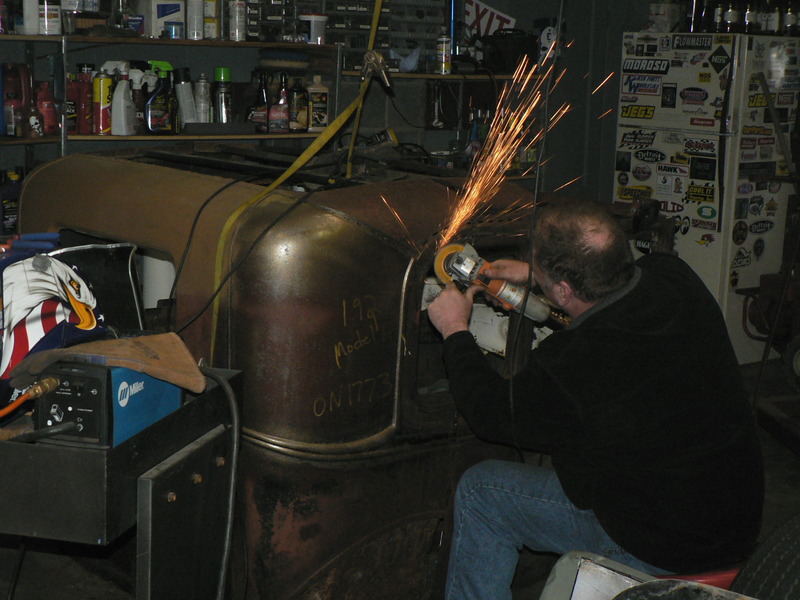
John spent most of last night measuring and cutting while I filled in odd time welding and finishing up some misc things on the chassis. We pretty much have 1/4 of the re-joining complete, just need to move to the other side and do the lowers, there was quite a bit learned with the first parts that will help quite a bit moving onto the next.
When this project rolled into the garage it had an electric fuel pump and no way to put a mechanical one on due to the engine mounts, engine height, frame distance, etc. Well, a couple posts back I created new mounts and changed the way the engine sat and now I can fit in a mechanical pump, all to do now is get it and put it in.
Except I forgot that SBC mechanical fuel pumps are not my forte so it took a little more legwork than it should. I ordered the pump from Summit and of course it was here next day, but I didn't realize I needed a fuel pump pushrod - not a big deal so I ran out to the local auto parts and grabbed one, which they were stunned to see leave the store apparently it had been there for years. When I got home i realized that since I had a block off plate before and the new pump was a different shape that I needed a fuel pump mounting plate - back to the parts store, which was fine since I wanted new hardware too.
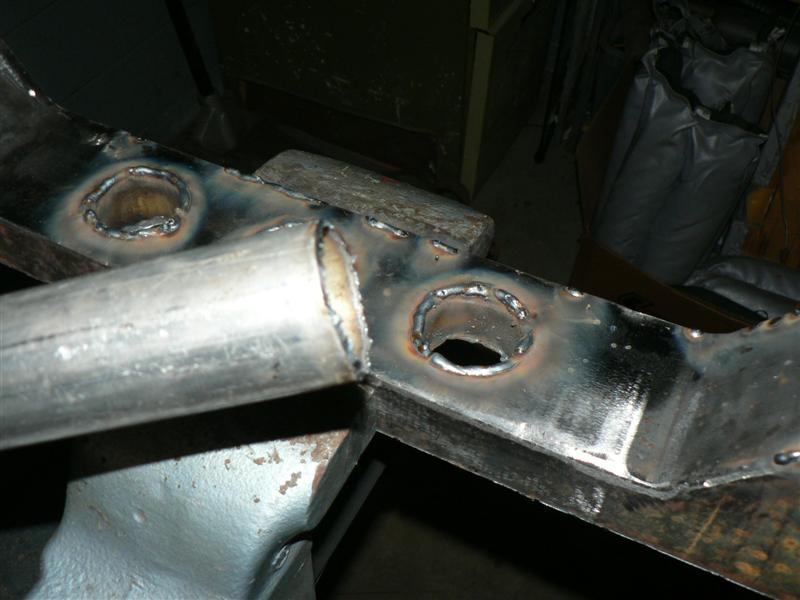
A lot of pics, very little story. Basically as I stated earlier the engine mounts had to go, they were cobbled together and weak - not to mention a complete eyesore. I had thought about buying a weld in mount/crossmember but in the end I decided to just make exactly what I wanted from scratch. I still have to fab up a crossmember but the old mounts are off, new ones are made and in place. This took me a bit longer than I had planned but in the end I am more than satisfied.
After removing the old engine mounts I found some bad metal behind them, holes that had been patched with bad welding and weak metal. I plasma cut out the bad and MIG welded in the new then ground smooth.