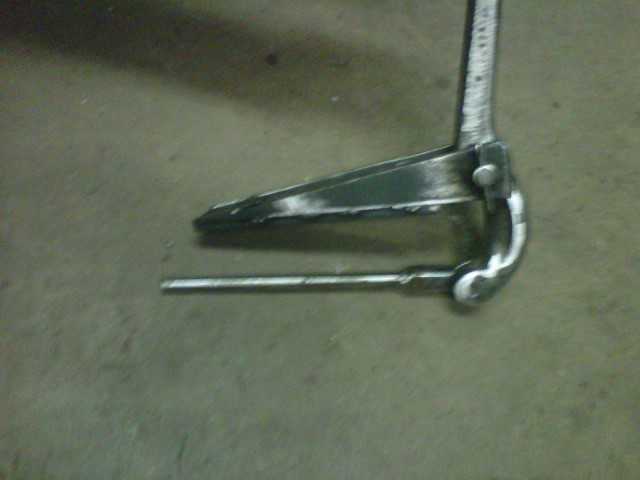
I built the brake pedal assembly over the weekend which will mount on the floor rails. The base unit is all 1/4" plate steel and the swingarm is a steering arm from an older GM car, the hinge pin is removable and attached with a pin so it can be serviced.
Everything still has to get cleaned up & painted, I ordered the pedal pad and gas pedal yesterday so I should have the completed & painted unit ready this week.
I promise, just haven't had the initiative to keep the bog updated since progress isn't as visual at this point.
I solved a master cylinder issue I had by going with yet another design, this time with the ports facing the opposite direction and I have it mounted and ready for pedal assembly - which I am making this week.
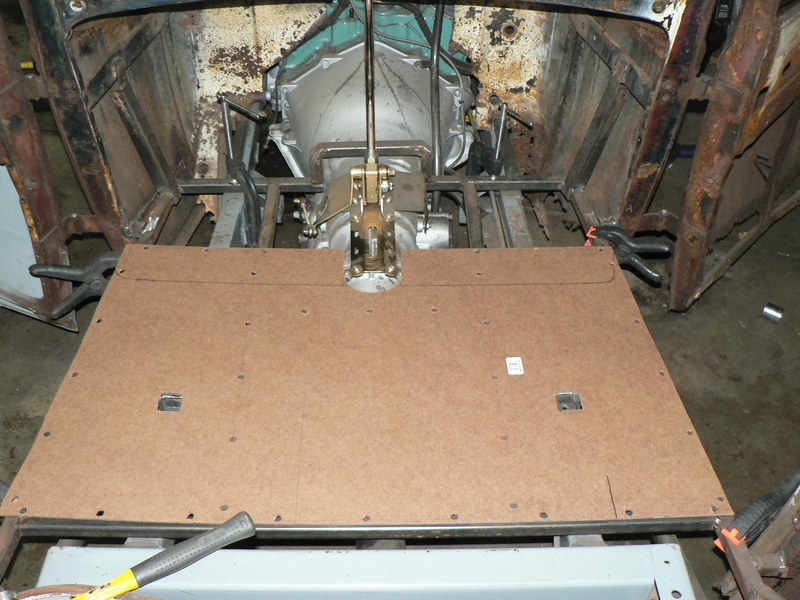
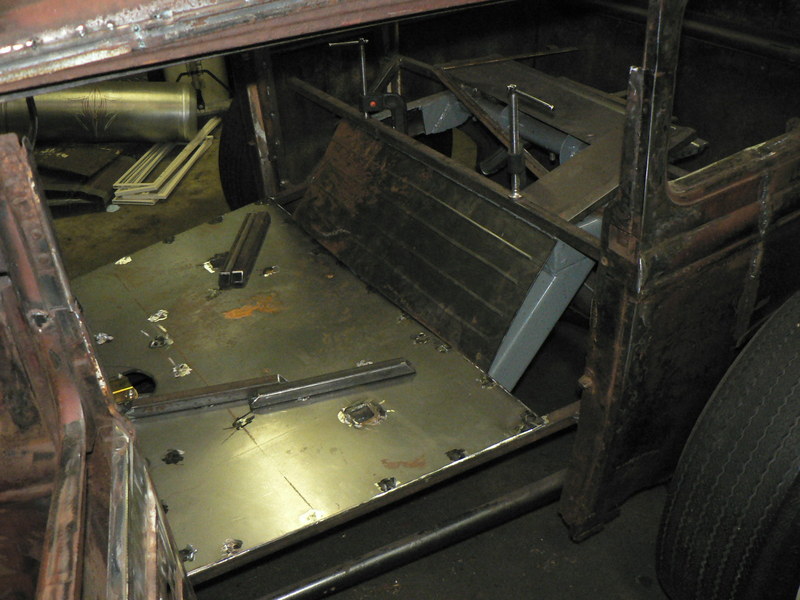
I started work on the floor, the main section of the floor took the longest as it has a couple of the body mounts and will control the rest of the floor sections. I made a template out of backer board then plasma cut out the main piece. One the main floor was in I started moving towards the back and got a chance to use the bead roller setup I made earlier. I also made a few of the uprights to hold the seatback area which you can see in the last pic laying on the floor.
It seem that the further along I get, the less car I have but I am sure it's for the greater good. I removed the cowl gas tank tonight so I can start on the dashboard, finish up the floor structure and start the front work. It just made sense to remove the tank to get to everything better, all of the hardware came right out with no issues - once I grabbed the plasma cutter.
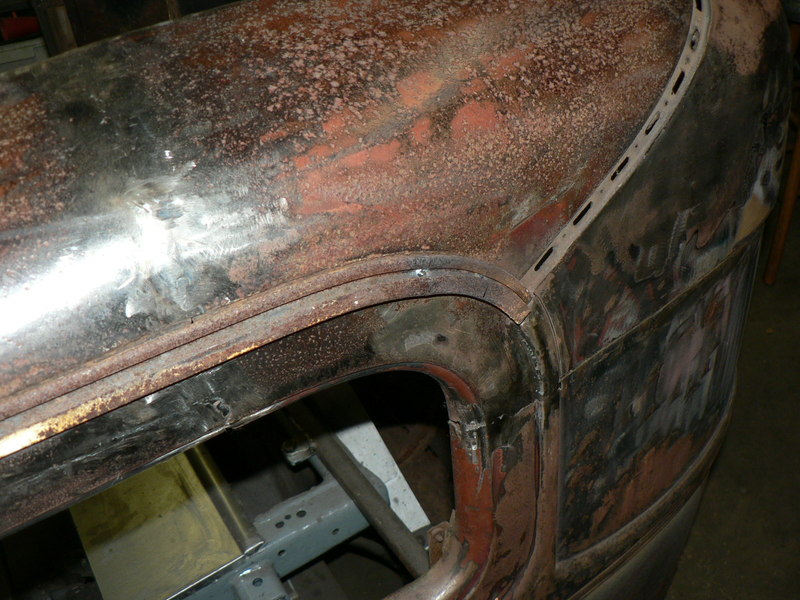
It looks like I'm officially updating the blog again, and I plan on getting this on the road this spring. Tonight I finished up the drivers side drip rail and tackled the big gap at the back from the chop.
For some reason this idea came to me when I was removing the pile of metal that had been stored in the car over the summer and I had to see if it would work. I used the inside window trim from my model A, and on my shortened car one per side is all I need.
From this point I will be finishing both sides then welding from the inside and cleaning off outside tacks, the cleaning up, body work, etc. but these look the part in my eyes and its vintage steel from the car.
A shot from farther back, you can see only the back section is on, I need to use the vertical piece that I cut off to finish the front part.